How To Create
How To Create - Using Online Designer Studio | |||
| |||
Online Designer Studio
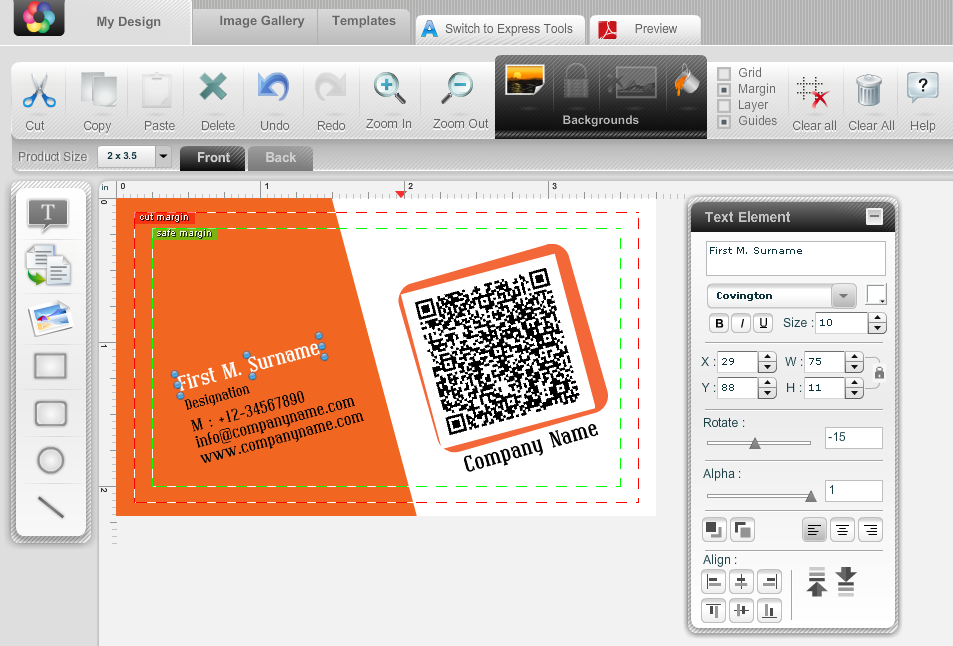
Print Fast offers a powerful yet simple to use Online Designer Studio.
.bmp?v=3186)
This studio comes along with a slew of tools that support text and graphics editing. Let’s see what tools are available.
Top Header Section

This is the top header section of the designer studio. Here you have access to your image gallery, template gallery, option to change studio, preview the design, and save the design.
Product Size & Side

You can select your product size from the dropdown menu. If your product has two sides, you can select side from ‘front’ and ‘back’ buttons.
Product Canvas
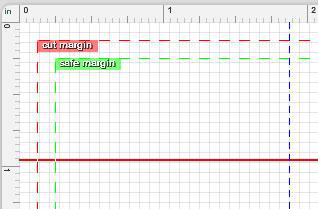
This is what your design canvas will look like.
Cut Margin: The red line on the outer edge indicates cutting area of design. Design outside this margin will not be included in your artwork.
Safe Margin: The green line is your safe margin. Any design and content inside this margin is safe and part of your artwork.
Note: Any design falling between these two margins will be included in artwork but may not appear properly in printing. If all margins are set to zero then no lines will be displayed on studio.
Guide Line: The red horizontal line in the centre is your designing guide line.
Fold Line: The blue line is the fold line. This line shall appear for products that have folds in them like brochures.
Middle Header Functions

Cut: You can cut objects like text fields, shapes, and images from your artwork area.
Copy: You can copy objects like text fields, shapes, and images from your artwork.
Paste: You can paste copied objects like text fields, shapes, and images in your artwork.
Delete: You can delete and remove objects like text fields, shapes, and images from your artwork.
Undo: You can undo your prior action.
Redo: You can redo your prior action
Zoom In: You can see a larger view of your artwork.
Zoom Out: You can see smaller view of your artwork.
Background Functions
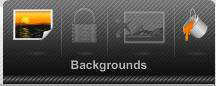
You also have a lot of options for setting background images.
Add & Remove Background Image
You can add new image or delete an existing background image from your artwork.
Set Aspect Ratio
![]()
You can set the aspect ratio of the background image in your artwork.
Set Background Color
![]()
You can set various background colors in your artwork.
Other Tools
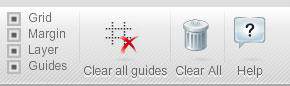
Grid: This will make the grid lines appear on your canvas to help you with alignment and placement of various objects. These grid lines merely facilitate the design process and do not get printed in the final design.
Margin: This will show different margins like cut margin, safe margin, etc on your canvas.
Layer: This will show the layer panel for your design.
Guides: This will activate the design guides on your canvas.
Clear All Guides: This will make all the design guides invisible on your canvas.
Clear All: This will delete and clear your entire design.
Help: This will open the design tool tip or tool guide.
Side Bar Control Panel
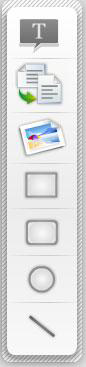
The studio also has a sidebar control panel that again has several functions.
Text Tool

You can add text object to your artwork.
Orientation Tool

You can select the display orientation of landscape or portrait for your artwork.
Image Tool

You can add images to your artwork.

You can import images from your Picasa and Flickr accounts. You can use stock photos from Fotolia. Or you can access your personal album on Facebook and import photos from there.
Shape Tools
You can draw various shapes like square, rounded corner square, ellipse, and free lines.
Layer Panel
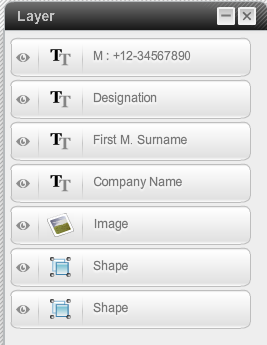
The layer panel displays all the different elements of your design artwork. You can manage every single layer of your design individually from this panel.
Text Element Panel
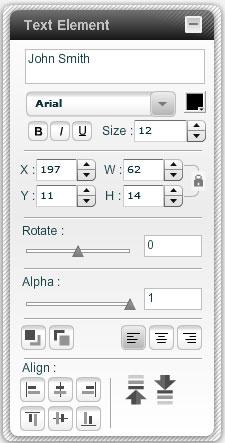
You have a very extensive text element panel that lets you manage the text objects of your artwork. You can set typography by selecting the font style, font size, and font color. You can rotate the text. You can use the alpha tool to define text transparency. You can align the text horizontally and vertically in your artwork. You can also bring the text to the front or send it back in your design.
Image Element Panel
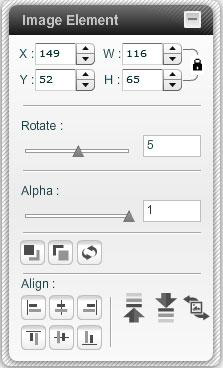
Similar to the text element panel, you have an image element panel that lets you play around with the images in your design. You can define their placement coordinates using the X and Y values, rotate the images, and again use the alpha tool to define their transparency levels. You can align the images horizontally and vertically. You can bring the images to the front or send them back in your design. You can replace your existing image and even reset the image to its original size and aspect ratio.
Shape Element Panel
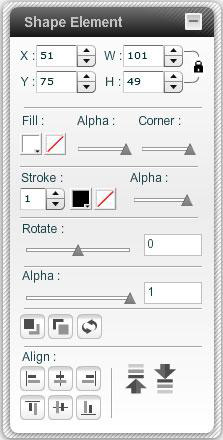
Shape element panel allows you to manage the shapes you add to your design. Here again you can use the X and Y coordinates to manage placement. The fill tool lets you manage the color aspect of the shape. You can use the alpha and corner tools here to control transparency and corner curves of your shape. The stroke tool can be used to define shape borders in terms of thickness, color, and again transparency through alpha. You can rotate your shape and align it horizontally and vertically. Here again, you can bring your shape to the front of the design or send it back as required.
Image Gallery
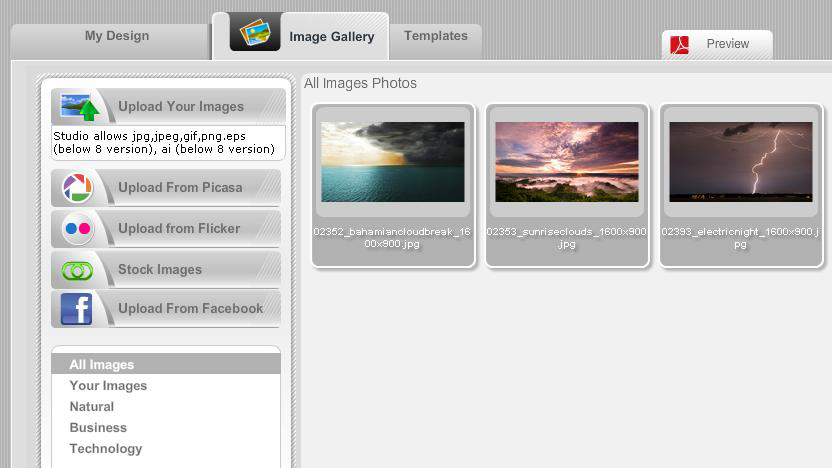
Image gallery is accessible from the top header section of the studio. Here in image gallery, you can view all the stored images. You can even view images based on their categories like natural, business, technology, etc. You can upload a new image and use it for design. The studio further allows you to import images from your Picasa and Flickr account. You can use images from your personal Facebook album and personalize your product designs. Additionally, you can also use images from stock image provider Fotolia for product designing.
Templates Section
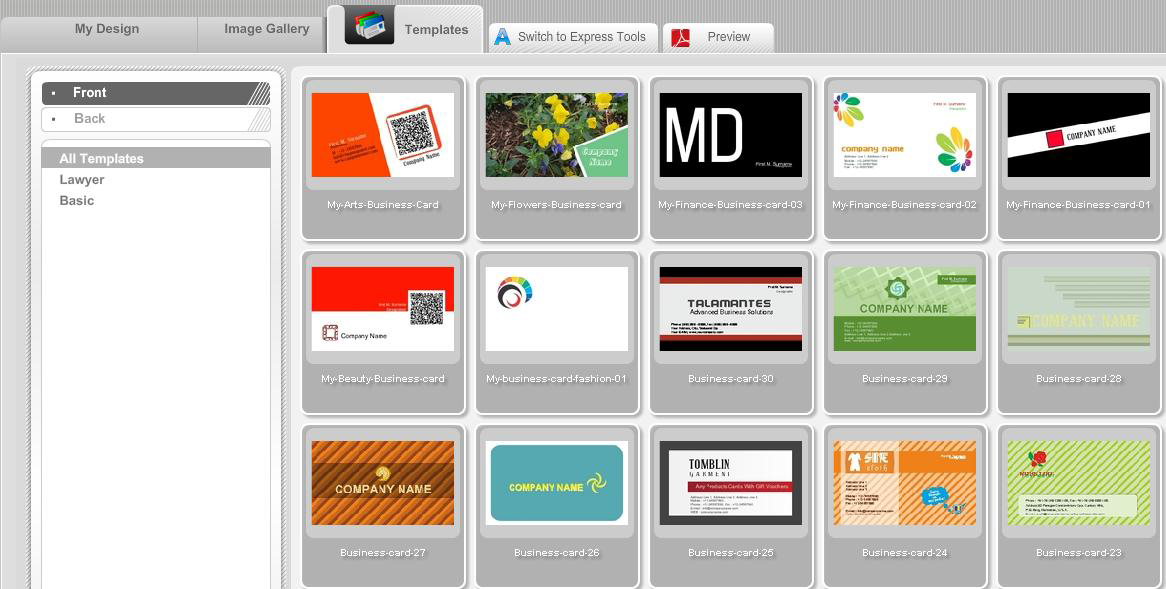
Template gallery is accessible from the top header section of the studio. Here in template gallery, you can view all the stored templates for a particular product. You can view these templates based on their categories like basic, lawyer, agriculture, beauty, etc. The gallery will display template designs for both front and back side of a product.
Express Studio Text Panel
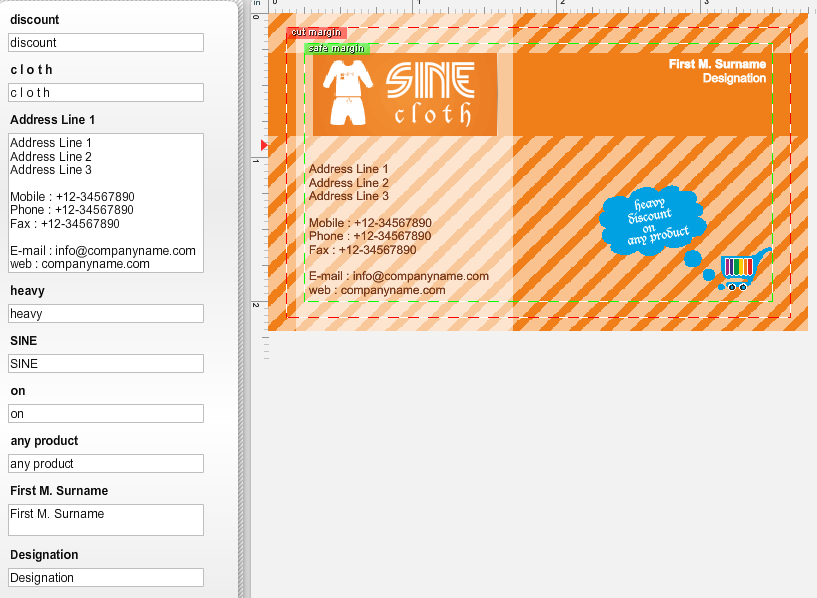
The Online Designer Studio has two studio options available – advanced and express. While most of the things remain same for both the studios, there are a few critical things that change, the first one being text panel. Since express studio allows only text editing, the text panel displays all the editable text fields. You can input your personal credentials in these fields and get done with designing.
Express Studio Header

The header section changes in express studio. In this panel, you can change your typography by selecting a font style, font size, font color, and text alignment. You can add or delete background image. You can enlarge the view of your artwork using zoom in and zoom out functions.
QR Code Generation & Use
We have introduced a new feature of generating QR codes in our solution and then using them in the product design. To generate a QR code you first need to log into the customer account.

In the header section of this account, you have Manage QR Code. Clicking on this link will bring you to the Manage QR Code section.
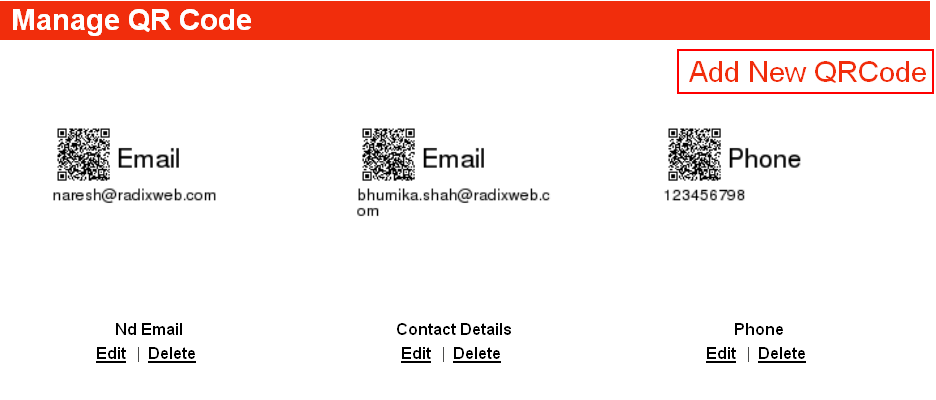
Here you have Add New QRCode link. Clicking on this link will bring you to the QR Code generation page.
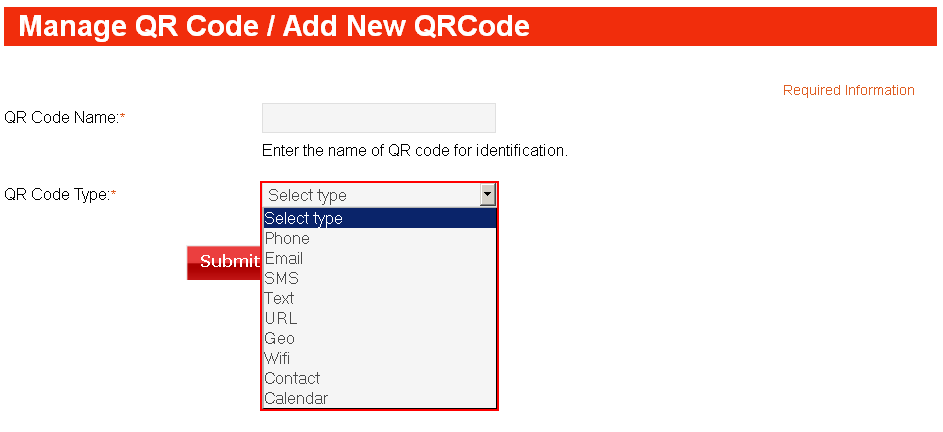
You can generate different types of QR Codes like for phone number, email address, SMS, URL, etc. Once you fill in the required details and click submit, our Design Studio will generate the QR Code. You can view this QR Code in your account.
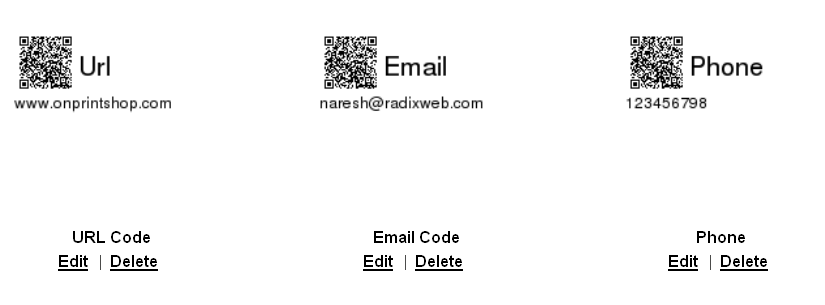
Now when you design your product in the studio, you can go to image gallery to view the QR Codes generated by you.
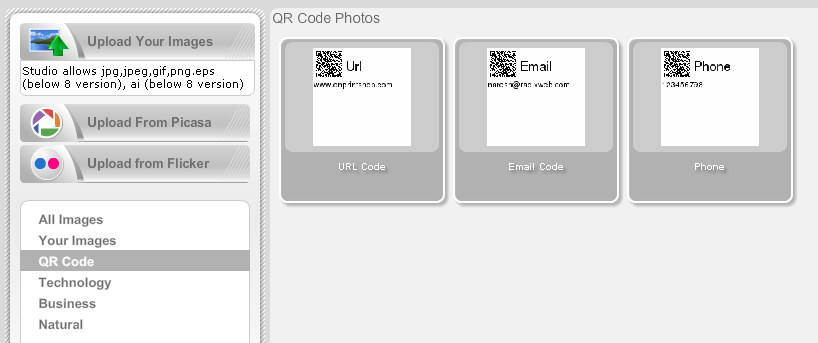
From here you can use the QR Code like an image in your product design.